Making my own roll-out icing has been a godsend. I have been able to make great cakes for various events including birthdays, baby showers and other special occasions. Without this recipe my only option would be to use the store-bought roll-out icing which contains preservatives. Another bonus to this roll-out icing is that it is absolutely delicious! I don’t like marshmallows but I LOVE this icing. Everyone at our parties have always been surprised at how nice it is and say that they usually just pull off the regular shop-bought roll-out icing. What a waste!
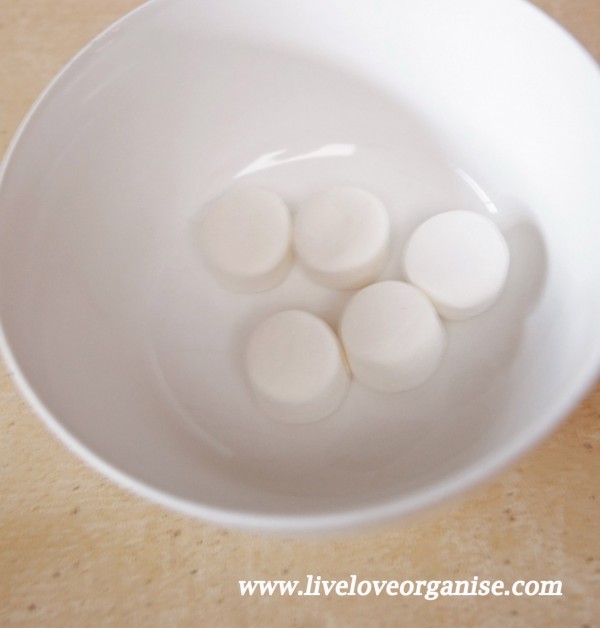
This recipe begins with white marshmallows. Pascall do sell the white only packets but they are very hard to find. The pink ones are now naturally coloured so if you want pink icing just use the pink ones. (Note, the colour will become lighter as you add your icing sugar.)
I used about 5 marshmallows for the purpose of this post but you can add about 3 x that amount if you want to cover a cake. It’s easier to make too much of the roll-out icing to begin with, especially if you’re adding colour as it makes it too hard to match later on.
Start by melting your marshmallows in a microwave safe bowl for about 10-30 seconds depending on how many you are using. The marshmallows should start to expand. Don’t be afraid to try 10 seconds to begin with and check it to make sure they look puffy. Then you’re good to go.
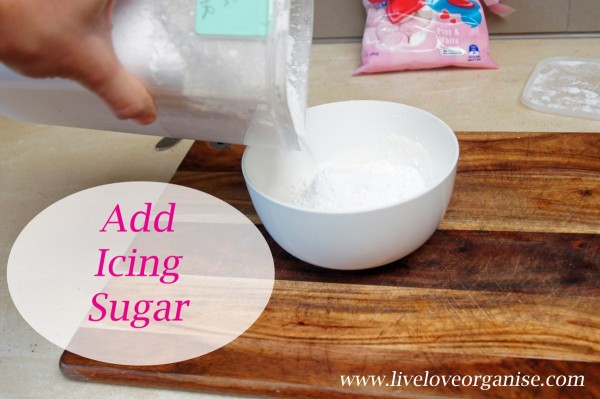
Once you have melted the marshmallows, it’s time to add icing sugar.
Add about half a cup of icing sugar (again, it depends on how much roll-out icing you are making) to the marshmallow and mix with a fork. The mixture will be VERY sticky. Just persevere and mix as much as you can adding a teaspoon of icing sugar as you go so that you are able to scoop up the mixture with your hands and start kneading. It’s a bit of an add-as-you-go kind of thing. It may help to coat your palms in some icing sugar so that the marshmallow doesn’t stick too much.
Next it’s time to knead the icing. Just keep on kneading until the mixture is smooth. You may need to keep adding a little icing sugar as you get to sticky bits in the mixture. I usually have a bowl of icing sugar to dip the ball into as I go when I come across a sticky bit. 😉
If you want to divide the mix now you can. Just take off the amount you think you will need for white icing and the other piece you can add some colour.
Add a small amount of natural colour if you wish (see photo). Then knead the icing to combine.
Once you have the colour you want, start rolling out your icing. You may want to get a little helper like I have done 🙂
Now you can roll out to your desired size. I have made a Butterfly with a cutter. Just roll out the icing to approximately 1mm thickness and cut out your shape. I have laid the butterfly onto the bottom of a glass overnight to set so that it stands up on a cake.
The final result! 🙂
Helpful hints:
- Try not to put your roll-out icing in the fridge as it will sweat.
- Adding a small amount of non-stick cooking spray to your cutter, board and rolling pin will help the mixture to stop sticking.
- Store your icing at room temperature in a sealed container or in cling wrap.
- Once kneaded, if your icing becomes too hard after sitting out you can put it into the microwave for a few seconds to make it pliable again.
- The icing can be frozen.
- The icing can be left out of the fridge in a sealed container for about a week – so you can make your creation ahead of time!


